California Living Will (Advance Directive) Form
The California Living Will is considered an advance directive. This means that it lets you state your preferences regarding end of life decision-making while you are still able to make your own decisions, typically by stating the types of treatment (such as whether or not to be on artificial respiration equipment, feeding tubes, etc.) that you do or do not want if you become unable to express your wishes for whatever reason.
It is a legal document that also contains a "DESIGNATION OF AGENT" section. This enables you to name a trusted person (similar to a health care power of attorney) that is authorized to make sure your wishes are carried out if you become unable to do this for yourself.
If the documents are created correctly, they may be used by medical professionals in California in order to determine what type of care or treatment would have been preferred by the individual when he or she was still able to make his/her own decisions.
Requirements
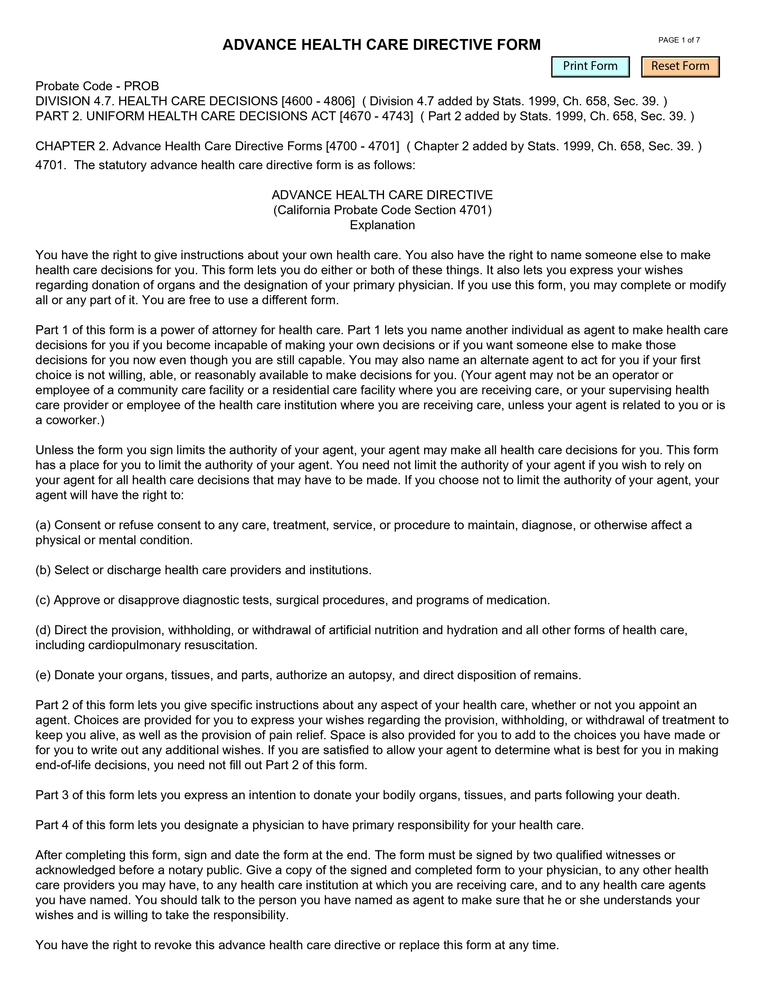
The California Living Will must be written in accordance with the legalities of California law. See - California Probate Code Section 4701.
Note: A living will may not be used as a substitute for medical advice, diagnosis, or treatment.
The document must be dated and signed by two witnesses in order for it to be considered legal under California law.
A Living Will form may include: specification for end-of-life decisions; do not resuscitate (DNR) orders; and designation of a health care surrogate.
How to Create a Living Will in California
1. Decide what choices you would like to make for your medical procedures and treatments, especially if you believe that they will not be helpful in prolonging your life or improving the quality of it. You may want to consult with a lawyer or your physician about any questions you have before making these decisions. Check this End of Life Care Planning Guide.
2. Write down all of the information needed so that no confusion can arise when it comes time to discuss medical treatment options with doctors and/or other medical professionals who will be discussing end-of-life care decisions with you or those acting on your behalf.
3. After gathering this information, decide who should be appointed as a health care agent (proxy) in case you become unable to speak for yourself because of an accident or illness.
4. Have your California Living Will form notarized (or signed by two witnesses) and signed by the person you have chosen as your health care agent (proxy). Make sure that he or she has a copy of it and knows what his/her responsibilities will be if given this authority.
5. Keep a copy of the document with other important personal documents (e.g., insurance policies, bank deposit records, last will, etc.) in case they are needed by those who may need to act on your behalf for any reason after an accident or serious illness leaves you unable to express your wishes regarding end-of-life medical treatment decisions.
How to Fill Out the Advance Health Care Directive Form
Official California Health Care Directive form is a quite complex document consisting of medical power of attorney section, health care instructions, and organ donation instructions upon death. Some of the parts are not obligatory and may be left out. The first page contains a lot of information on what the form allows you to do and your rights. Below is a detailed explanation of how to fill out the form with no errors.
Part 1. Fill Out the Power of Attorney for Health Care Section
In this part, you determine the person who will represent your will and be able to make any health-related decisions on your behalf if needed. You can also limit the agent's decisions if you want to.
Step 1. Introduce your designated agent
The first step is to identify the agent that will make health care decisions on your behalf. Specify the following:
-
Full name
-
Address (street, city, state, zip)
-
Home and work phone numbers
Step 2. Optionally, provide the name of alternative agent(s)
You can also add alternative agents if the original one cannot fulfill their duties. To do so, please provide the following details:
-
Full name
-
Address (street, city, state, zip)
-
Home and work phone numbers
Step 3. Limit the authority of your agent if needed
You can determine the scope of medical decisions your designated agent(s) can make. You can leave this section blank if you fully trust the assigned person. You can also attach an additional sheet if there is insufficient space for your commentary regarding these restrictions.
Step 4. Specify the effectiveness of the POA
You can check the box at the bottom of the second page to make this directive effective immediately. Otherwise, it will be effective the moment your doctor determines your incapacity to make health decisions yourself.
Step 5. Clarify the agent's post-death authority
Determine the actions of the designated agent(s) in case of your death. If you want to limit the agent's authority to donate your organs or other actions, you can list all of them in the blanks under section (1.5).
Part 2. Instructions for Health Care
In this part, you may declare your decisions that must not be changed even when you lose your ability to make them.
Step 1. End-of-Life decisions
Here, you can indicate whether you want to prolong your life if you have incurable conditions or have a low chance of regaining consciousness by checking the box that corresponds to your choice.
Step 2. Relief from pain
You can choose if you want to continue to receive pain-relievers even if they may worsen your condition and provide exceptions to this statement in this part.
Step 3. Other wishes
If you want to give the instructions not mentioned in the text, you can use the provided space to list all your requirements.
Part 3. Donations of organs, tissues, or parts at death (optional)
This section is optional for those and is designed for those who want to clarify their will upon death. You can determine which organs you want to donate for research, education, or transplant purposes. If you don’t want to provide any donations, just don't do anything here.
Step 1. Clarify the will to donate
You need to check box 3.1 to demonstrate your willingness to donate your organs, tissues, or parts at death. You can skip this step.
Step 2. Strike through the purposes you don't want
Strike through the purposes you don't want to donate your organs for. All will apply if you leave them as is.
Step 3. Restrict actions
If you want to give a restricted number of organs for donation, you can declare your wish in the provided text area.
Part 4. Primary Physician (optional)
You can determine the primary physician if you want to. The primary physician is a doctor responsible for the course of your medical treatment. You’re encouraged to ask the physician to add their name and contacts in your directive to ensure they will not decline your request.
Step 1. Clarify the name and contact details
Provide the contact details of the primary physician, including their:
-
Full Name
-
Address (street, city, state, zip code)
-
Phone number
Step 2. Provide an alternative option
If the first physician cannot be reached or is not able or doesn't desire to be your primary physician, you can indicate the alternate physician.
To do so, list down their information, such as:
-
Full Name
-
Address (Street, City, State, Zip Code)
-
Phone number
Part 5. Authorization
This is the obligatory section where you must sign the document.
Step 1. Provide the document date
Type in the date when the document is signed in the corresponding field.
Step 2. Identify the contact details
After that, you need to enter your (if you are the patient) printed name and address.
Step 3. Sign the document
To show that you agree and authorize this directive, you must sign the document.
Step 4. Statement of witnesses
For this form to be considered valid, it must be signed in the presence of two witnesses. They must provide their full names, contact details, and signatures in this part.
Step 5. Additional statement of witnesses
This statement must be signed by at least one of the witnesses. They declare that the witnesses are not relatives of the person who executes this directive by signing it.
Part 6. Special Witness Requirement
This part is required when the patient is in the skilled nursing facility. In this case, the patient ombudsman or advocate must sign the document as a particular witness. This part must contain the following information in regards to the patient ombudsman:
-
The date of the signature
-
Address (street, city, state, zip code)
-
Full name
-
Signature
Part 7. Notary Acknowledgement (optional)
If you don't have two witnesses to sign the document, you can alternatively notarize it. The notary public should fill all the fields on this last page.
Tips Regarding the Form
1. Get the form notarized, if possible. If you cannot get it notarized, then sign and date it in front of two witnesses who are at least eighteen (18) years old.
2. The California Living Will must be completed by you, the individual making the advance directive, or your legal guardian or representative, in order for it to be legally valid.
3. You may use additional sheets of paper if necessary in order to write down any information that is important to your wishes but leave appropriate spaces on the main document so they can be recorded as well. Fill out all sections completely and clearly so there will be no mistake about what your final wishes are when expressing medical treatment decisions that only you would know about.
4. You should not sign the California Living Will if you feel that you are being forced to do so by another person or under duress, since this may invalidate your document and could make it useless for end-of-life decisions.
5. The document may be revoked in writing at any time by the individual who created it or their legal guardian or representative unless they are no longer able to make these decisions for themselves.